In this tutorial we will use Waymark to create a Map with a single
Marker.
You will be guided through how to install the plugin, create a Marker at
a specific location and associate an Image and Description with it.
This tutorial assumes you have a WordPress site (self-hosted) and are
logged in as an administrator.
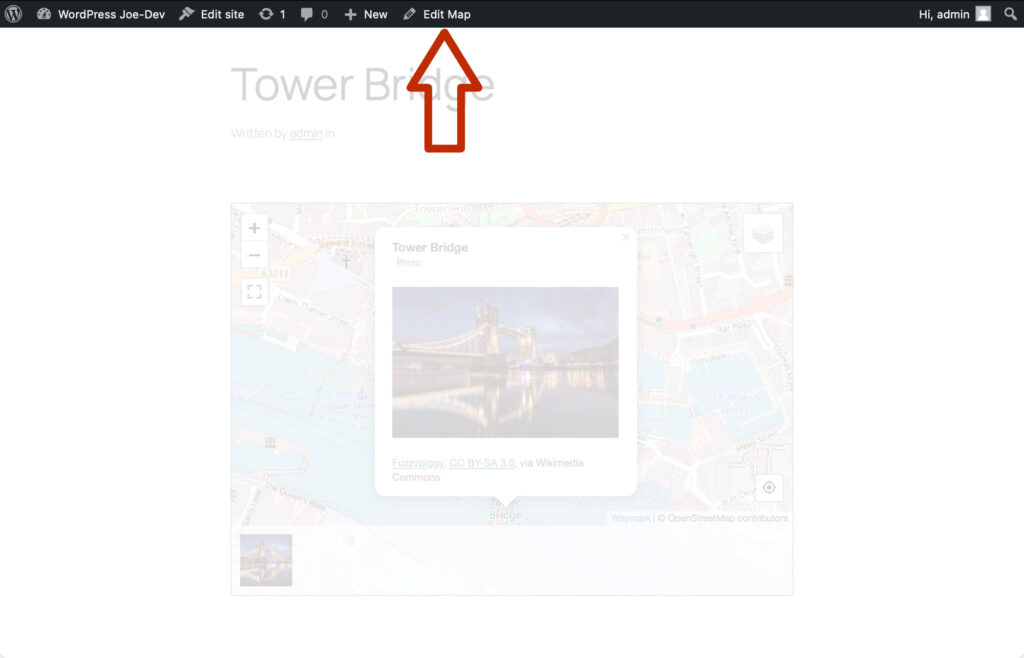
This Map illustrates the end result. Try clicking on the Marker Icon to
view the Image and description.
Click on any screenshot to enlarge.
1. Activating the Plugin
In this step we are going to search for, install and activate the
Waymark plugin.
1.1
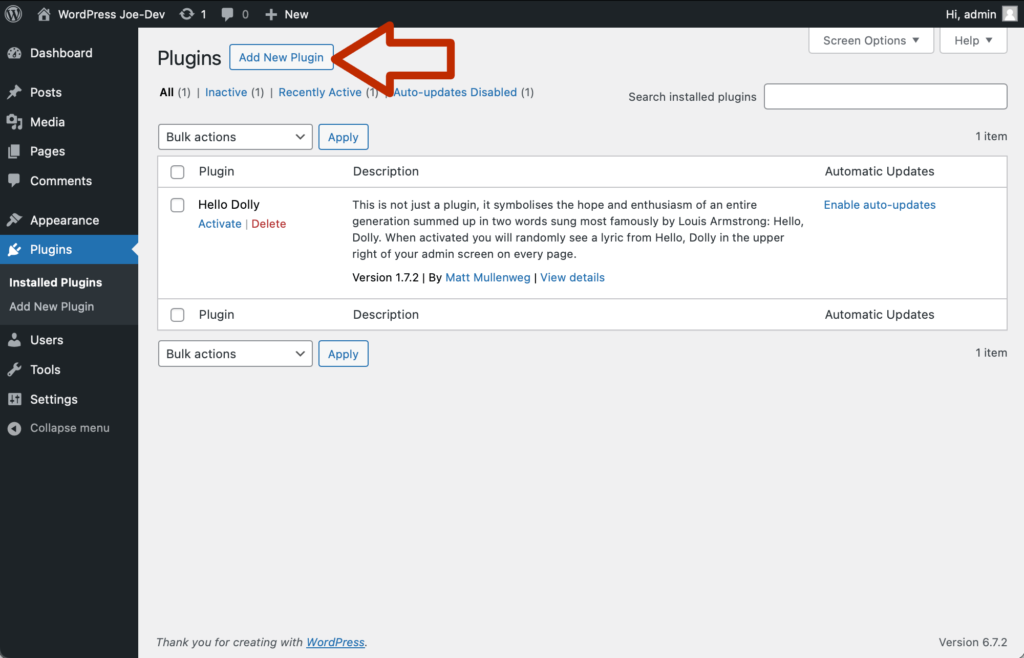
In the “Plugins” administration page click on the “Add New Plugin”
button.
1.2
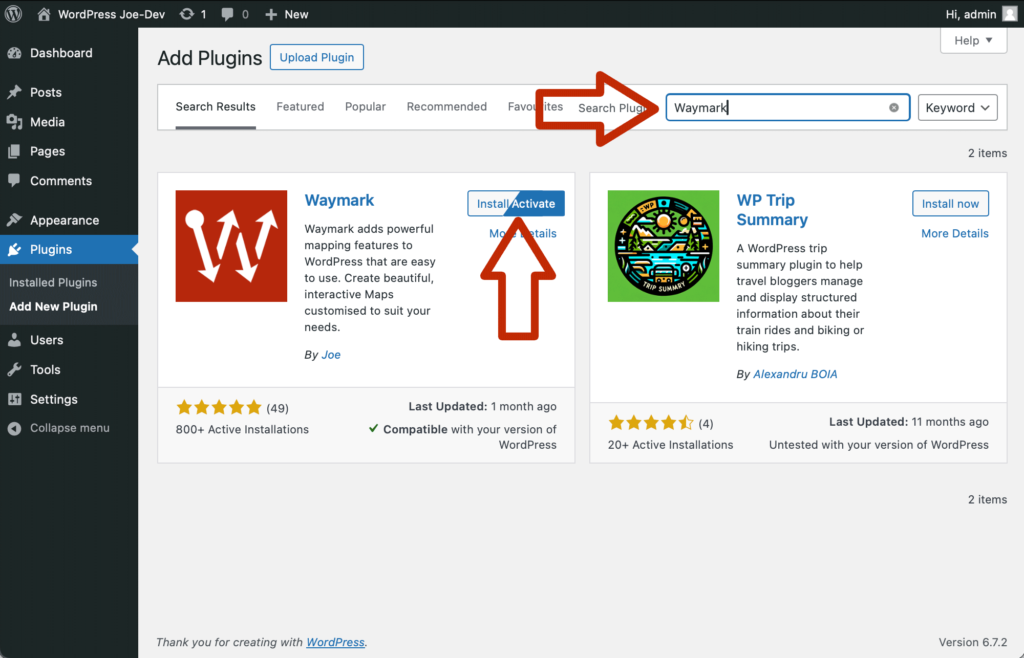
In the top right “Search Plugins” text field enter “Waymark”. Then
click “Install Plugin” next to Waymark in the search results. Once
installed, the button text will change to “Activate”. Click this to
activate the plugin.
2. Creating a Map
Next we are going to create a new Map and give it a title.
2.1
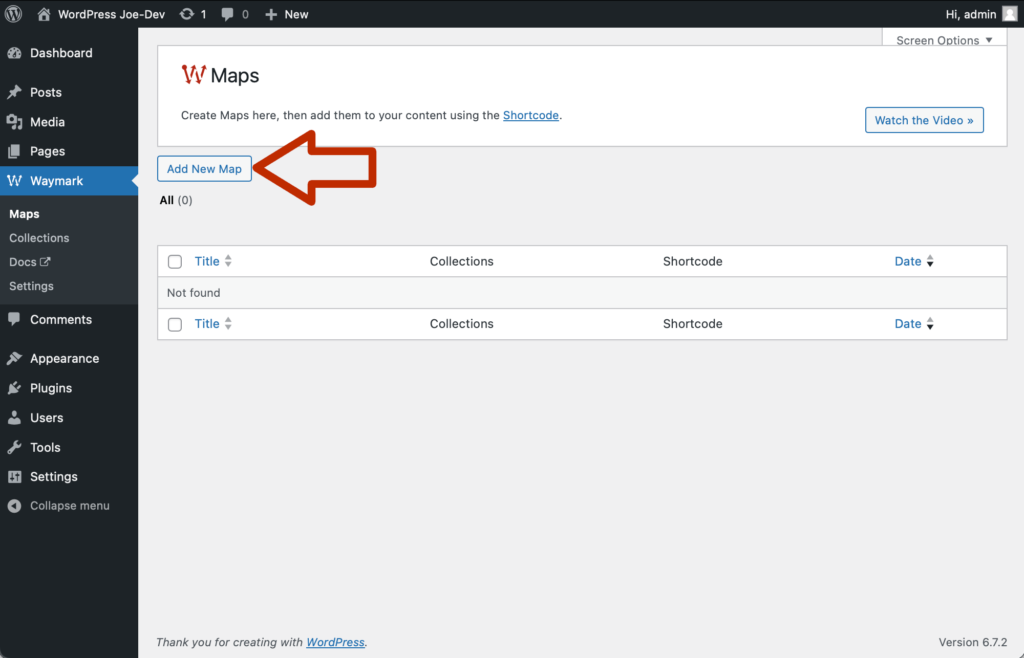
Once the plugin is activated you will be taken to the “Maps” page.
This screen lists all of the Maps created, which is empty right now.
Click “Add New Map”.
2.2
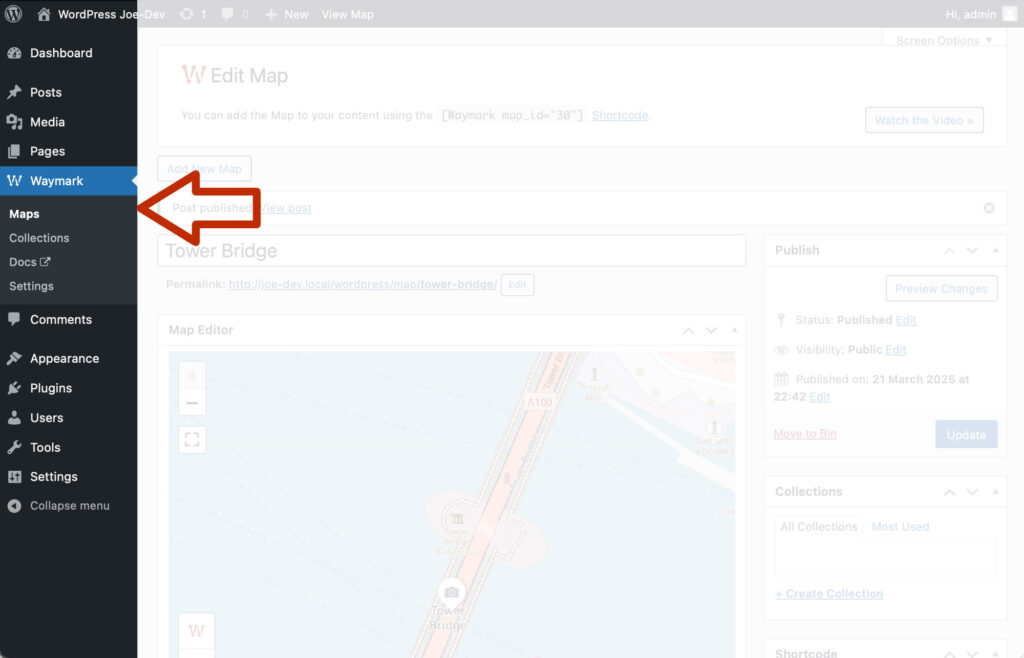
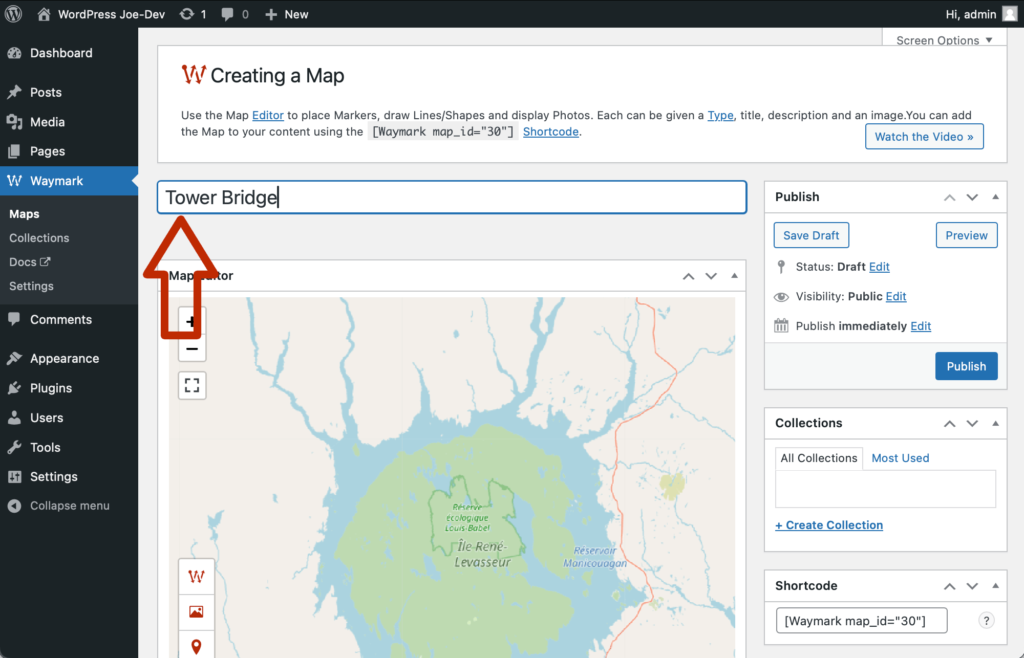
You will be taken to the Map edit screen. Give the Map the title
“Tower Bridge” in the top “Add title” text field.
3. Adding a Marker
We will now search for a location and add a Marker there.
3.1
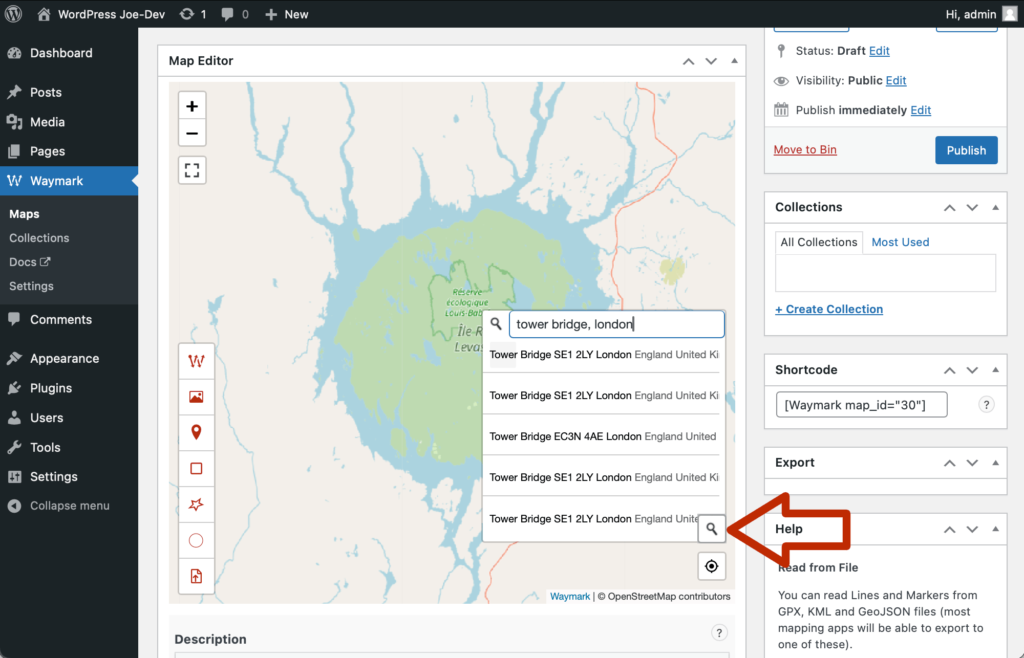
Scroll down to the Map and click on the search icon (magnifying glass)
to the bottom right of the Map. Enter “Tower Bridge, London” into the
search text field and
hit return/enter
to submit the search. A list of locations will appear, click on the
top result.
3.2
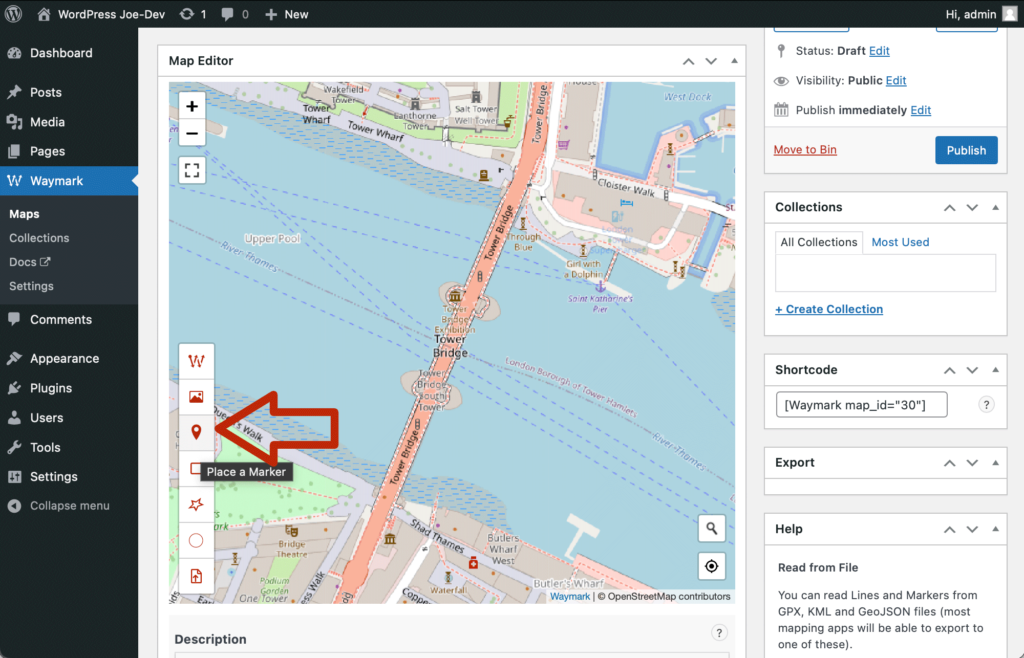
The Map should now be centred on Tower Bridge as in the screenshot (if
it isn’t try some of the other search results, but anywhere is fine
for this tutorial). Click the Marker icon (the third icon) on the
Toolbar to the left of the Map to add a Marker.
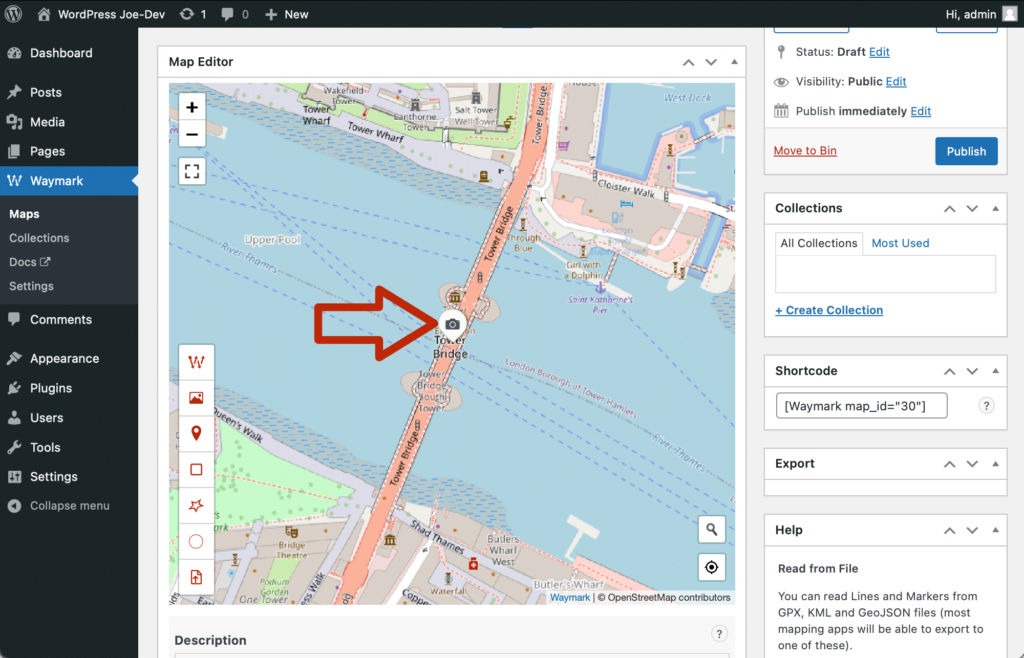
3.3
This will add a Marker to the middle of the Map, on the bridge. Click
on the newly added Marker to open the Overlay editor popup.
4. Adding an Image
With the Marker added we will now attach an image to it.
The image we will use first needs to be downloaded onto your computer.
Click
this link
to download it from
Wikimedia
, the file is called “1024px-Tower_Bridge_at_Dawn.jpg”. We can use this
image as long as we provide attribution, which we will do in the next
step.
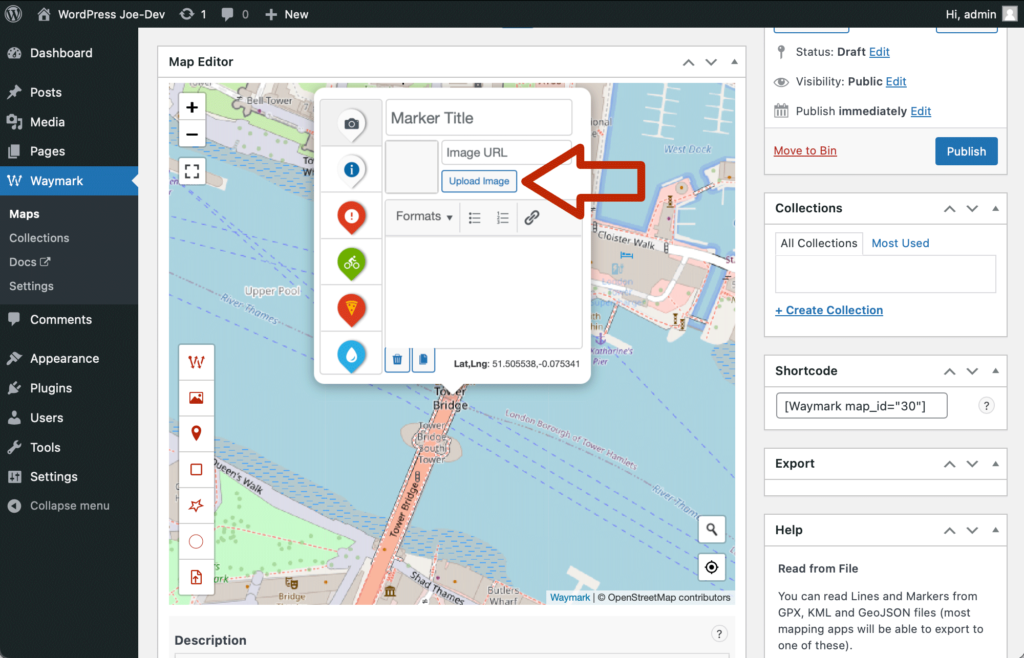
4.1
In the popup editor click the “Upload Image” button. This will open
the standard WordPress Media Library dialog.
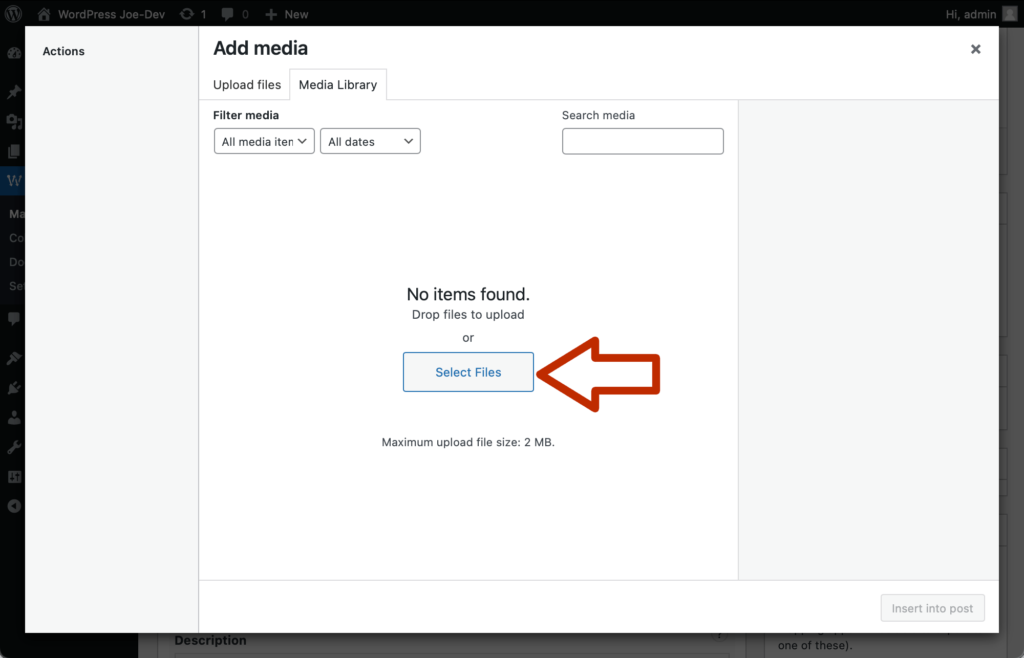
4.2
Click on the “Select Files” button to upload an Image.
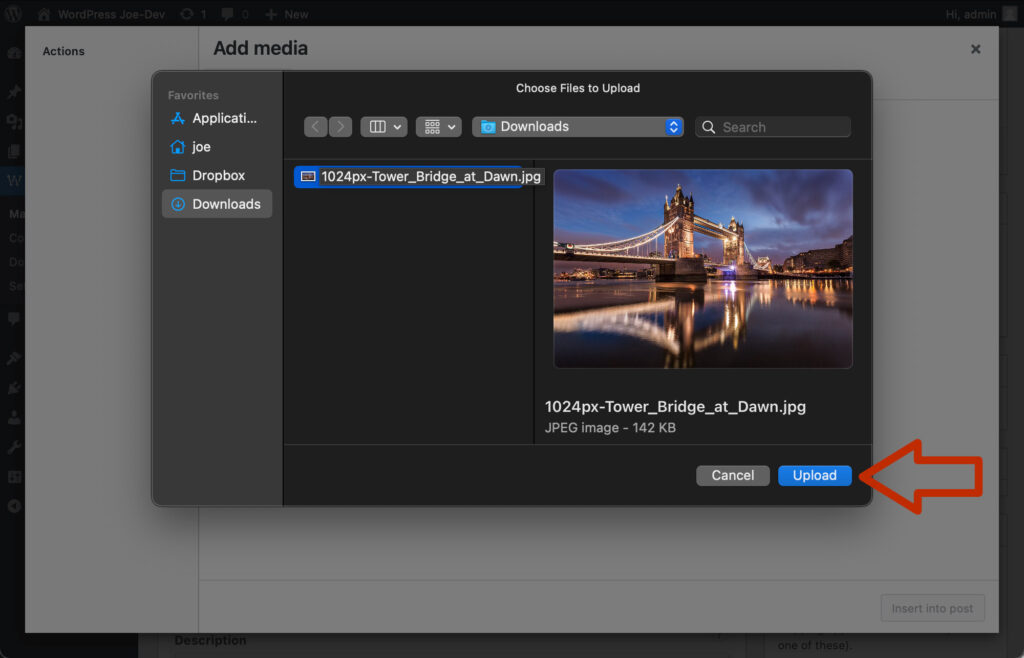
4.3
Locate the Tower Bridge image on your computer using the file browser
and click “Upload”.
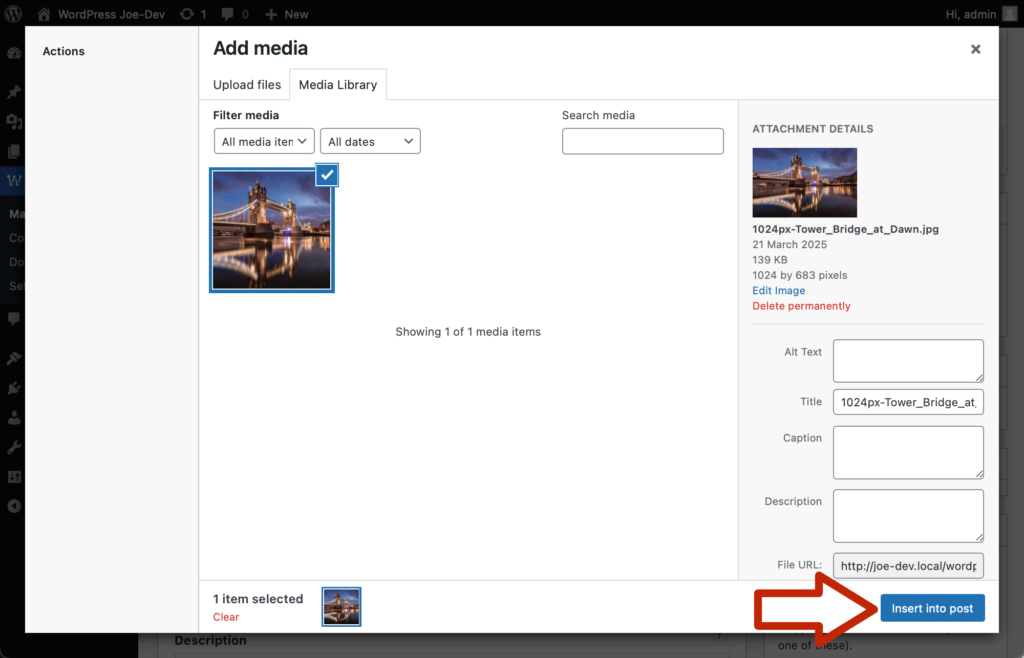
4.4
Once the image has finished uploading, you will see a thumbnail appear
in the Media Library. Click on the “Insert into post” button.
5. Adding a Description
Let’s add the required attribution in the Marker description.
5.1
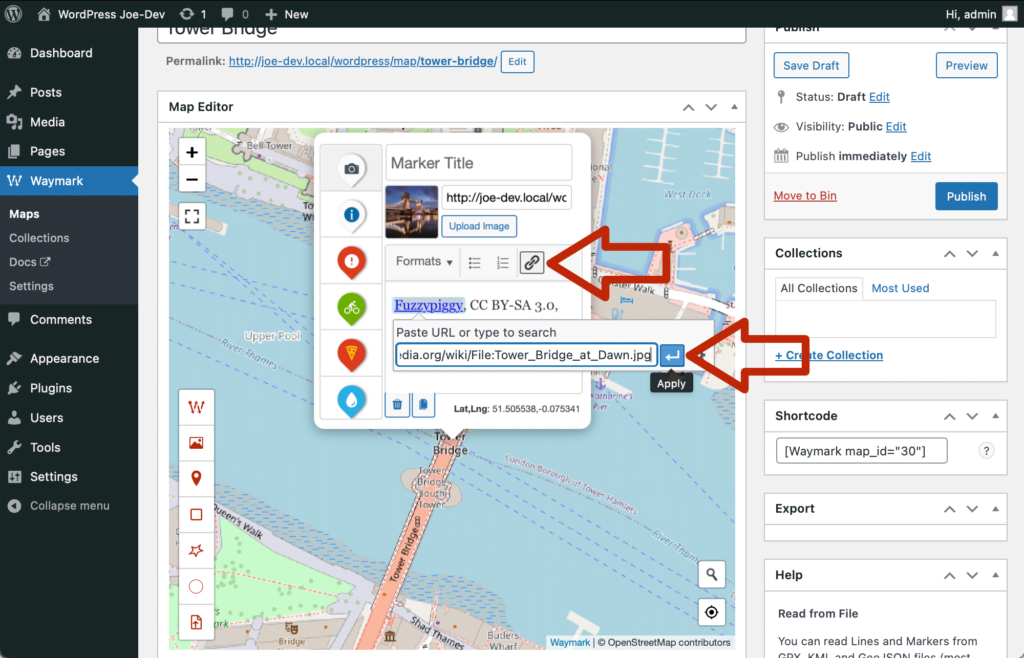
In the large text area, enter the provided attribution text. Highlight
“Fuzzypiggy” and click on the link icon above the Description field.
Add the appropriate link in the text field that appears. Repeat for
the “CC BY-SA 3.0” text, adding the appropriate link.
We are now ready to publish the Map and make it publicly accessible on
your site.
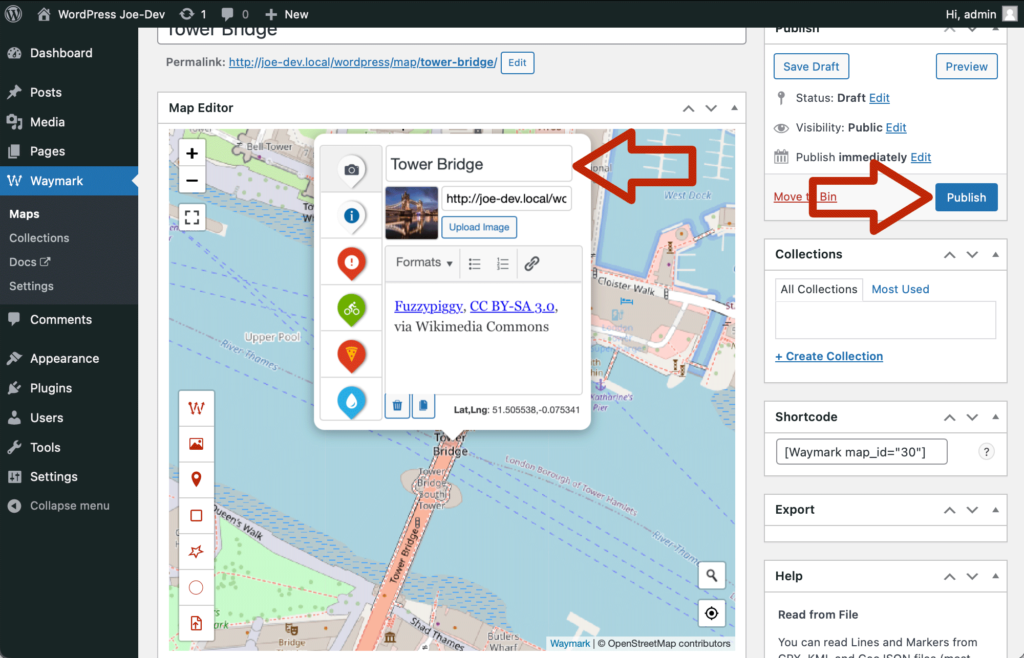
6.1
Give the Marker the title “Tower Bridge” in the “Marker Title” field.
Then click the “Publish” button to publish the Map.
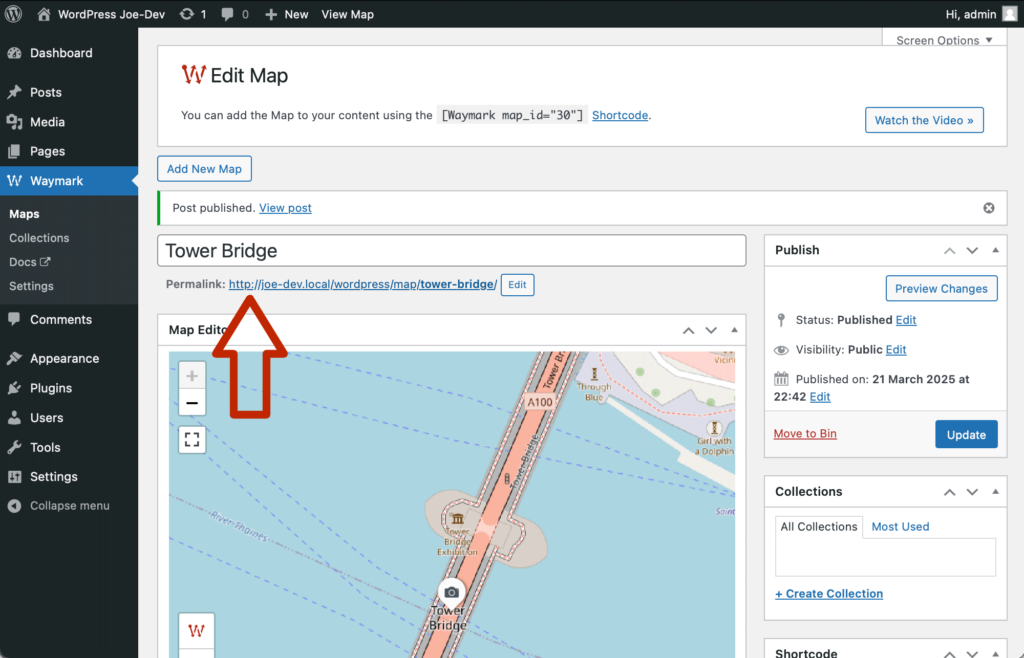
6.2
Once the Map has been published, you will be provided with the
“Permalink” for the Map. Click on the permalink above the Map.
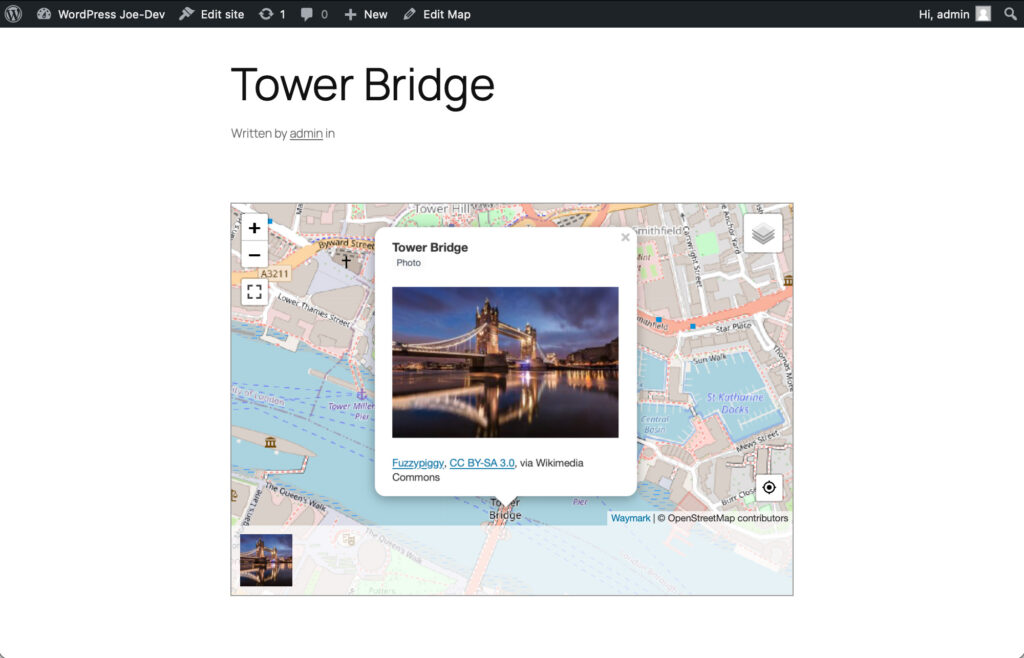
6.3
You will be taken to your interactive Map on the front-end of your
site.
Congratulations!
You have just created your first Map.
Feel free to go back to the Editor to explore more features, either by:
Clicking on the “Edit Map” button in the top admin toolbar, or
Clicking the “Waymark > Maps” admin menu link.
Click “Edit Map” When viewing a Map to go back to the Editor.
Click the “Maps” admin menu link to view a list of all of your Maps.
Your Map should be listed there. Click the Map “Tower Bridge” to open
the Editor.